‘hood Magazine is an Amazon Associate and earns from qualifying purchases.
Come the middle of March, and it’s officially spring! Now, here in the Midwest, the middle of March does not always feel like Springtime. But this year, I feel like that is true!
It feels so amazing to step into the newness of spring, the fresh crisp air, and all the life that is literally popping up everywhere. After a winter of no playground time, bike rides, or walks outside (at least without being very bundled up), spring is such a welcomed time of year.
Speaking of the cold weather, make sure to check out our full list of where to enjoy some Indoor Play here in Sioux Falls. Even if we can’t be outside every March, we can still enjoy running around! Or check out our article on end-of-winter play ideas for the inside.
Even if flowers are typically not yet in bloom here when the official first day of Spring comes, March 19th this year, but we can still celebrate! Check out this very easy (and inexpensive!) first day of spring craft!
We love this craft because it can easily be made with younger children who simply want to paint and also can be made with older children who want to be more exact.
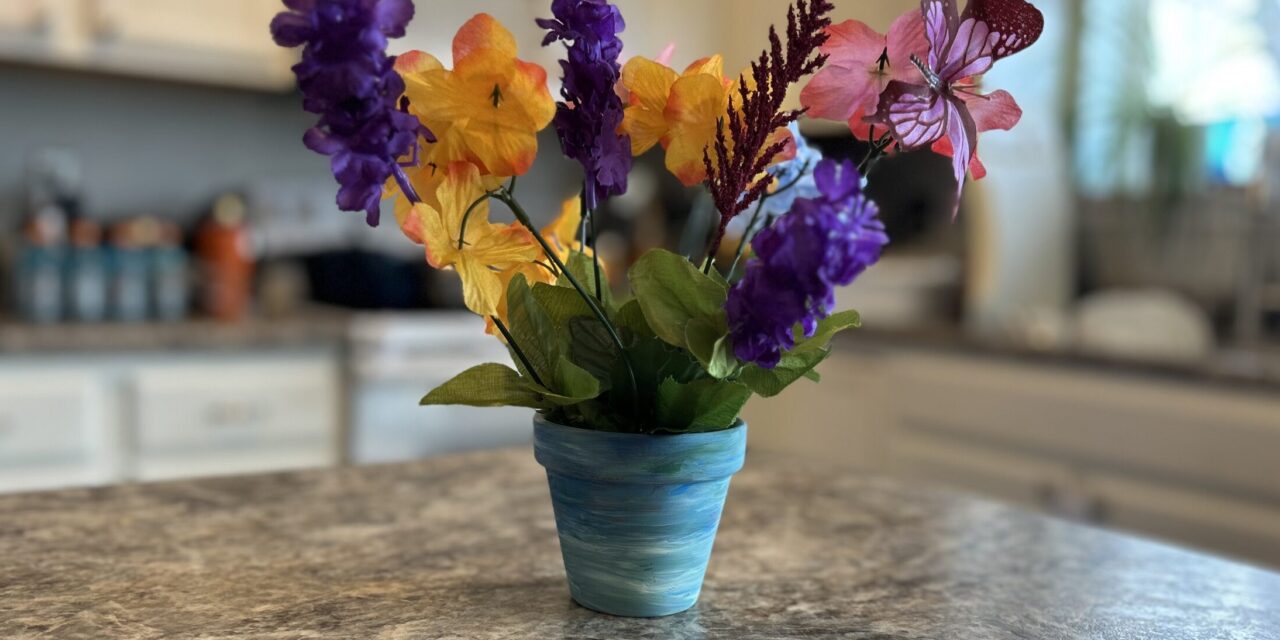
First Day of Spring Flower Pots
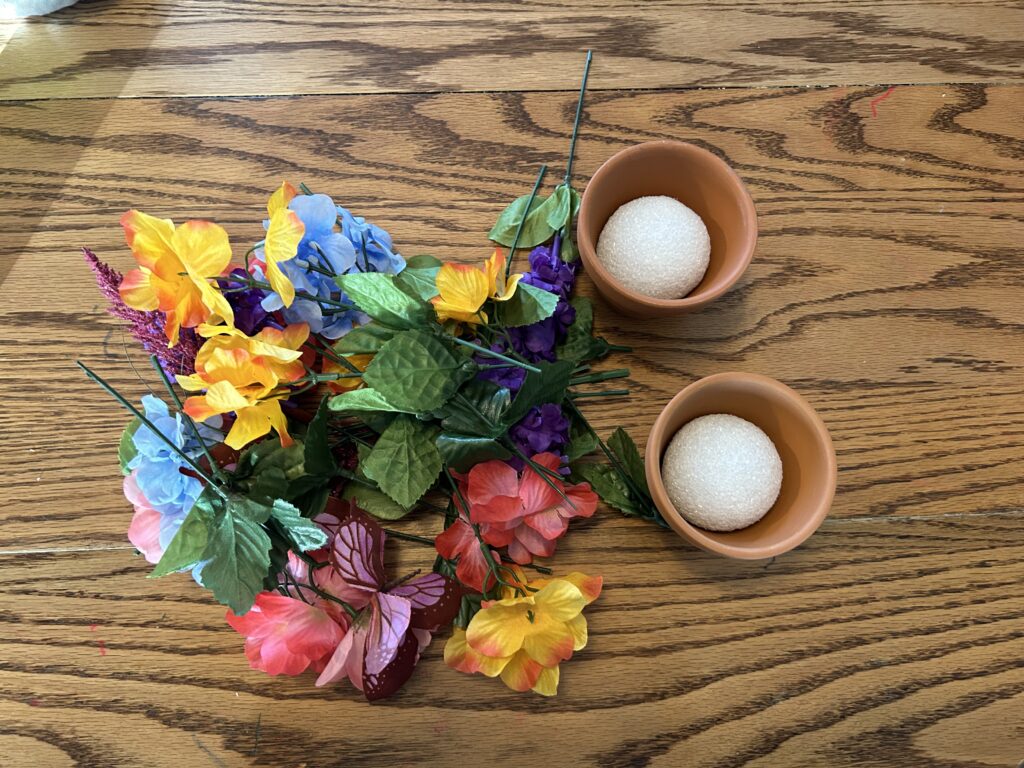
What You Need:
- Small Clay Pot
- A Styrofoam Insert for the pot (we used a round one, but anything you can squish in it will work!)
- A few bunches of smaller fake flowers
- Paint
- Paint Brushes
We got everything we needed for this project from the dollar store! Easy and inexpensive.
Pro Crafting Tip: Get good paintbrushes! Even when doing crafts with toddlers, using a good brush can make a big difference. We love these ones from Royal Brush. They have much thicker handles, and you won’t find the bristles constantly in your artwork!
How to Make:
- Paint your flower pots and let them dry.
- Place the styrofoam insert into the pot, making sure it’s secure. If need be, buy a larger insert and cut to size.
- Cut up your flowers into smaller bunches (close to where they connect to the main stem)
- Carefully push the flower stems into your flower pot.
There it is, an easy and simple craft to help celebrate the start of spring! Place this in your room as a decoration, leave it out in the kitchen for a splash of color, or use it on the Easter table this year!


