‘hood Magazine is an Amazon Associate and earns from qualifying purchases.
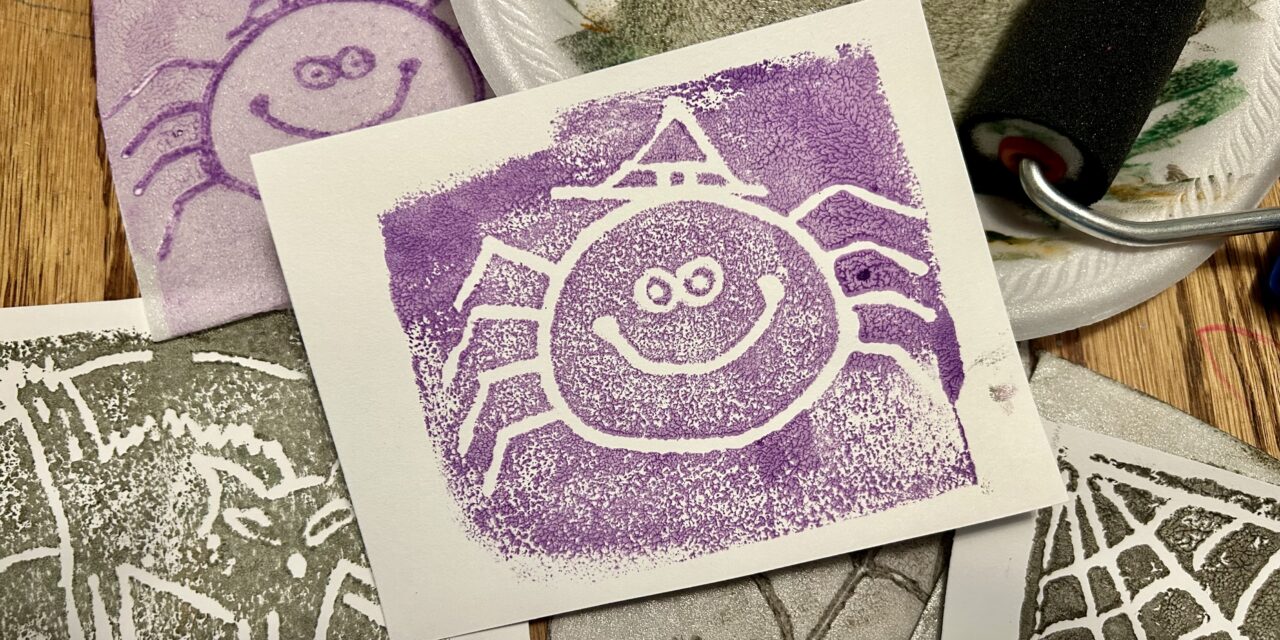
Halloween is the perfect time to get creative with your kids, and what better way to combine art and spooky fun than with a DIY printmaking project? Using styrofoam, your kids can create their own Halloween-themed prints, like pumpkins with carved faces, ghosts, bats, or even black cats. This craft is simple, inexpensive, and a great way to let your children explore their artistic side.
Looking for more Halloween fun? Check out this easy Halloween Bark Recipe.
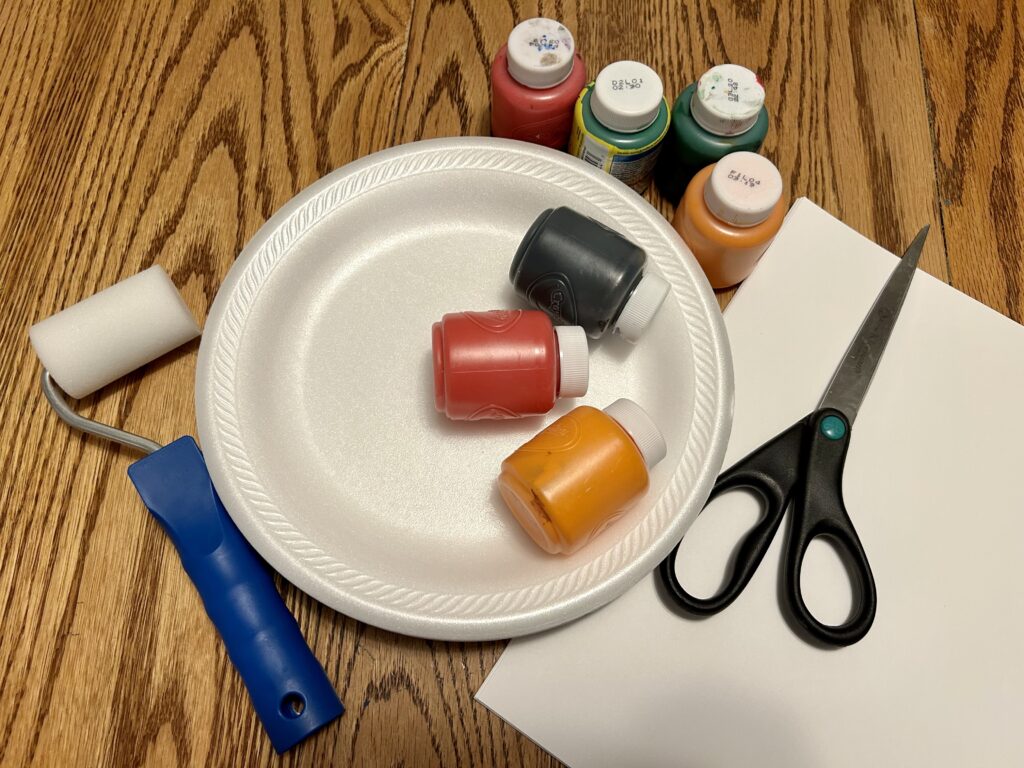
What You’ll Need:
- Styrofoam sheets or plates (the kind you get with takeout or food packaging works well)
- A dull pencil or pen (we used the end of a small paintbrush)
- Washable paint
- Foam paint roller or paintbrush
- Paper (cardstock is a great choice)
Instructions:
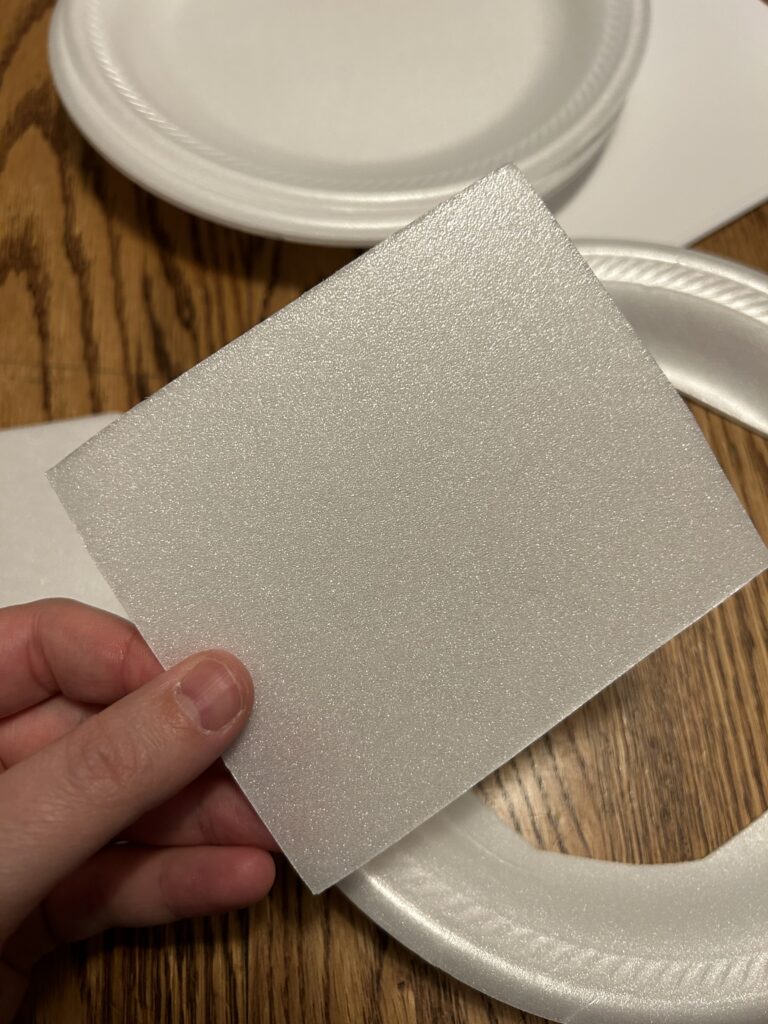
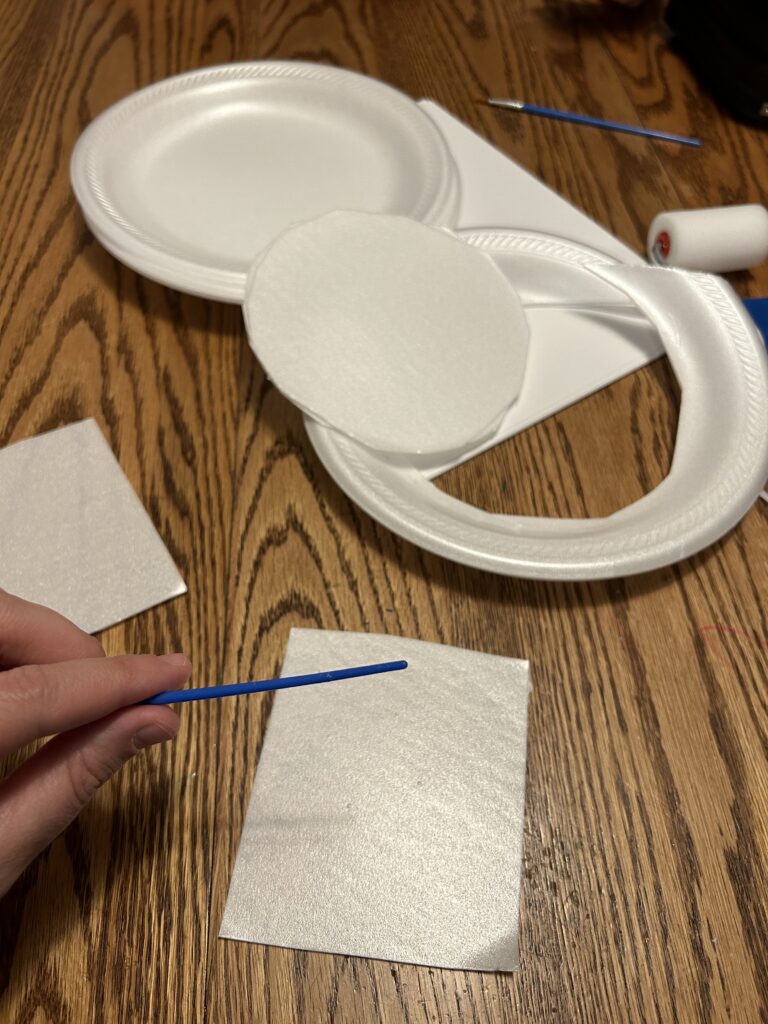
- Prep the Styrofoam: Start by cutting the styrofoam into a flat surface if you’re using plates or packaging. If you have styrofoam sheets, simply lay them out.
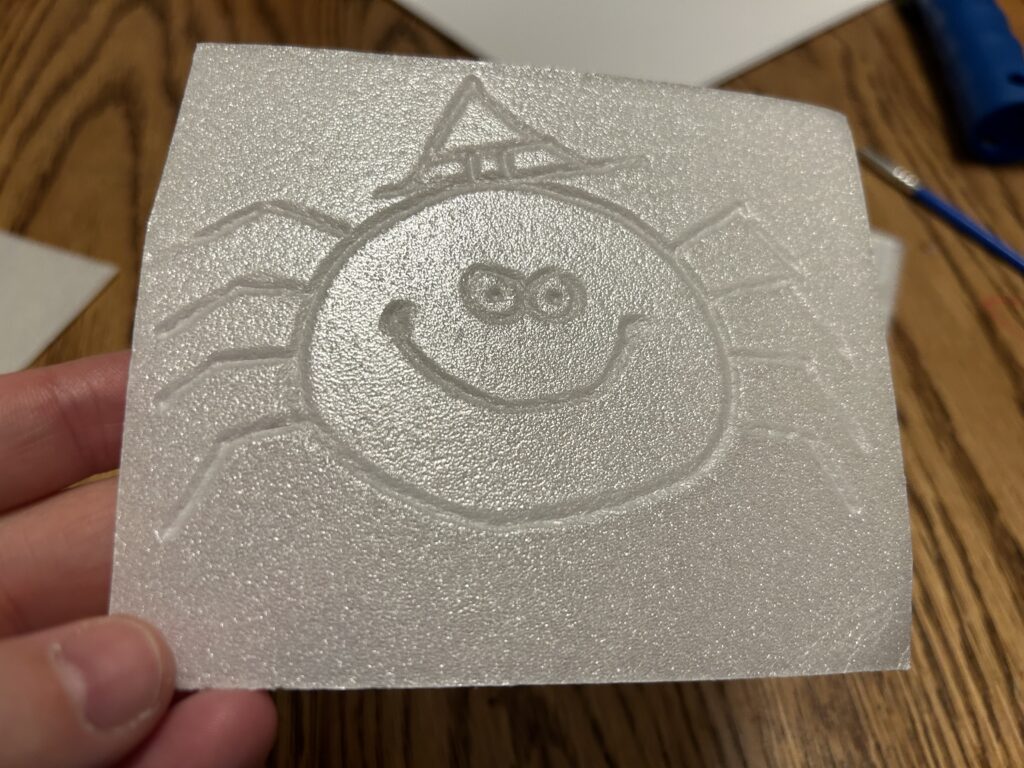
- Draw Your Design: Have your kids use the dull pencil or pen to gently carve their design into the styrofoam. For Halloween, a pumpkin with a carved face is a classic and fun option! They can draw the round shape of the pumpkin and add eyes, a nose, and a jagged mouth to mimic the look of a carved jack-o’-lantern. Remind them to press lightly, as pressing too hard can go all the way through the styrofoam.
- Apply Paint: Using a foam roller or paintbrush, spread a thin, even layer of paint over the carved side of the styrofoam. Orange is perfect for pumpkins, but your kids can mix and match for other spooky creations.
- Print It: Once the paint is applied, press the styrofoam gently but firmly onto a piece of paper. Carefully lift it off to reveal their unique Halloween print! The cool part? They can repeat the process to make several prints using the same styrofoam template.
- Let It Dry: Allow the prints to dry completely before hanging them up as festive Halloween decorations.
Ideas for Different Ages:
For Younger Children:
- Simplify the Design: Younger kids might need help carving their designs, so simple shapes like pumpkins, ghosts, or even smiley faces can be a great starting point. You can draw the design first, and then let them trace over it with a dull pencil.
- Use Bigger Styrofoam Sheets: Larger pieces of styrofoam give them more room to create without worrying about small details. Bigger designs are also easier for little hands to manage.
- Paint with a Brush: If a foam roller is tricky for little ones to use, opt for a paintbrush instead. Encourage them to paint slowly and carefully over their design before printing.
- Focus on Fun Colors: Let them experiment with bright colors—even if it means purple pumpkins or green ghosts! For younger kids, the focus can be more about exploring color and texture than creating perfect prints.
For Older Children:
- More Detailed Designs: Older kids can tackle more intricate designs like spider webs, detailed jack-o’-lantern faces, or even full haunted house scenes. They can experiment with finer lines and more complex patterns, adding a challenge to the project.
- Experiment with Multiple Layers: Encourage older children to print in stages—first making a background layer in one color, then adding another layer with a different design on top. For example, they could print a full pumpkin in orange first, then add black eyes and a mouth afterward.
- Use Different Materials: Older kids might enjoy experimenting with textured papers, fabric, or even making their own cards or gift wrap. They can also try mixing up different colors of paint on the same print for a cool gradient or layered effect.
Other Fun Halloween Design Ideas:
- Ghosts: Create simple ghost shapes with large eyes and a wavy bottom for a spooky but friendly vibe.
- Bats: Draw a bat with wide wings and sharp fangs to add to the eerie atmosphere.
- Black Cats: A silhouette of a black cat with its arched back and pointed tail makes a perfect addition to your Halloween gallery.
- Spider Webs: Intricate but fun, spider webs are easy to carve and look fantastic when printed in black or gray.
Top Tips
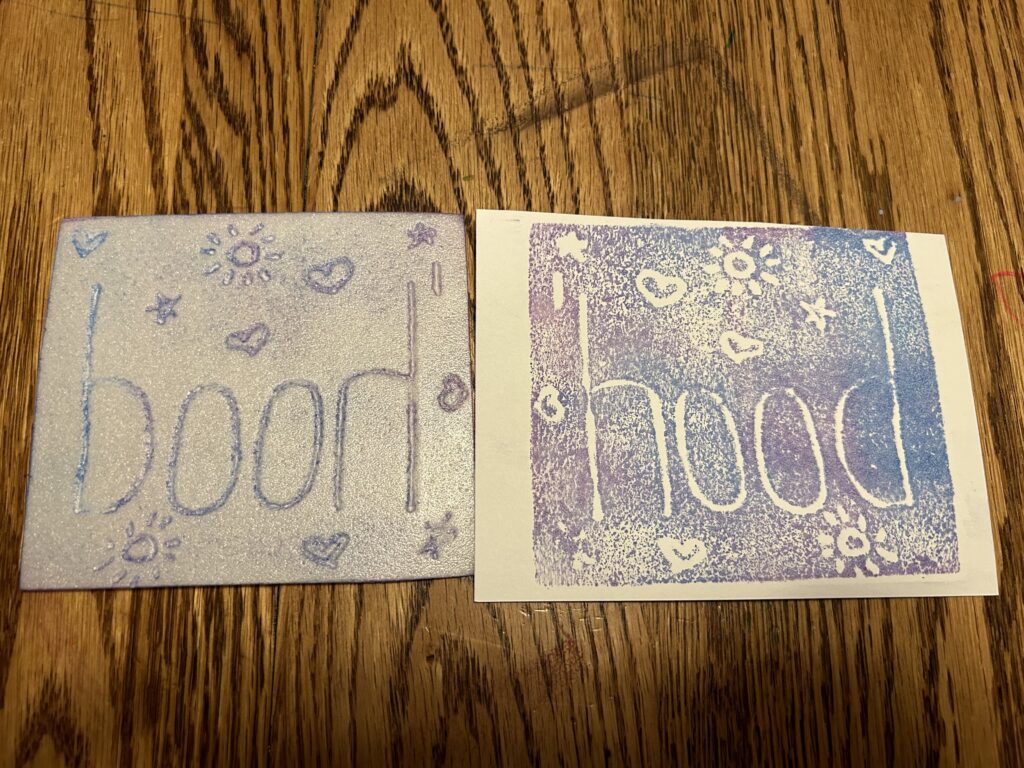
- Words: Because you are doing a print, any words that you carve will be backwards once printed.
- Save: You can save your prints! Now, prints run on styrofoam won’t last forever. But, they will last for a while.
Get Creative!
Once your kids have mastered the basics, encourage them to mix up their colors, combine designs, or even create a Halloween-themed printmaking collection! They can experiment with different types of paper—construction paper, cardstock, or even newspaper—for added texture and variety.
This DIY Styrofoam Printmaking project is not only fun but also a great way to help your kids develop fine motor skills, creativity, and imagination. Plus, it’s a great opportunity to spend quality time together while creating lasting Halloween memories. Happy printing and Happy Halloween!

