‘hood Magazine is an Amazon Associate and earns from qualifying purchases.
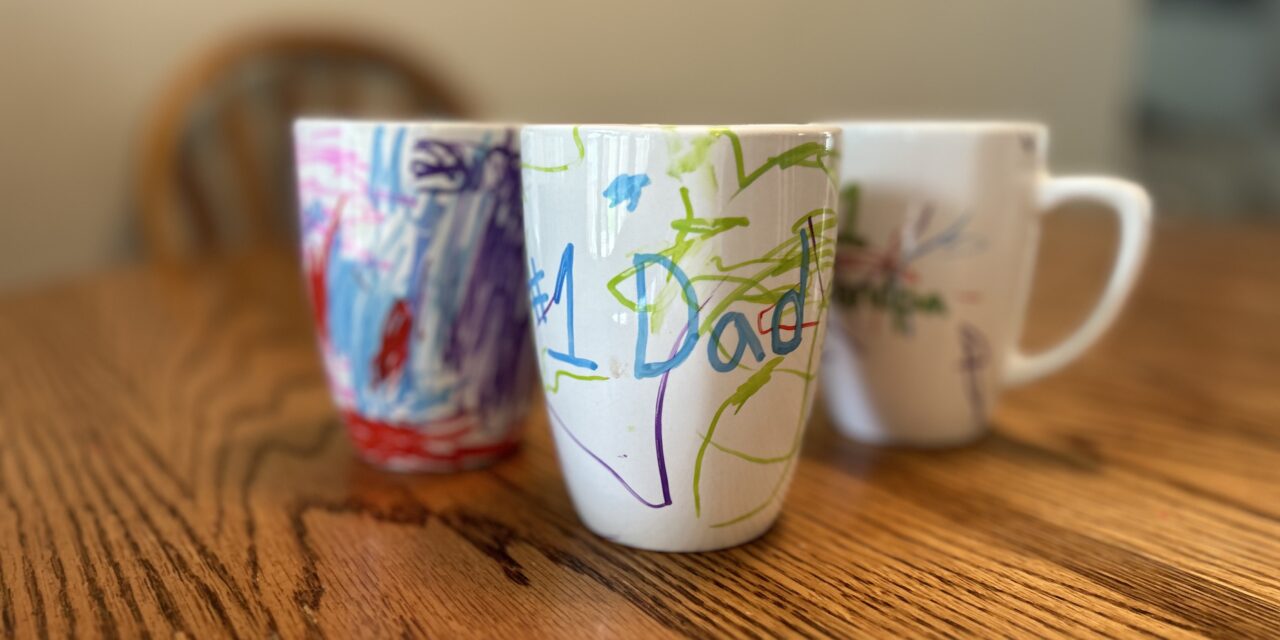
Father’s Day is the perfect opportunity to celebrate the special men in our lives, whether they are dads, grandpas, uncles, or father figures. This year, why not create a heartfelt and personalized gift that they can cherish? A DIY personalized ceramic mug is not only thoughtful but also a fun and creative project that you can enjoy with your kids. Using just a few simple materials and a little bit of time, you can craft a unique keepsake that’s sure to bring a smile to Dad or Grandpa’s face every time they use it.
If you want another idea for a DIY Father’s Day Craft, check out our post on shrinky dink keychains for Mother’s Day. An easy switch to write Dad instead of Mom.
Here is How to Make a DIY Father’s Day Mug!
Materials You’ll Need:
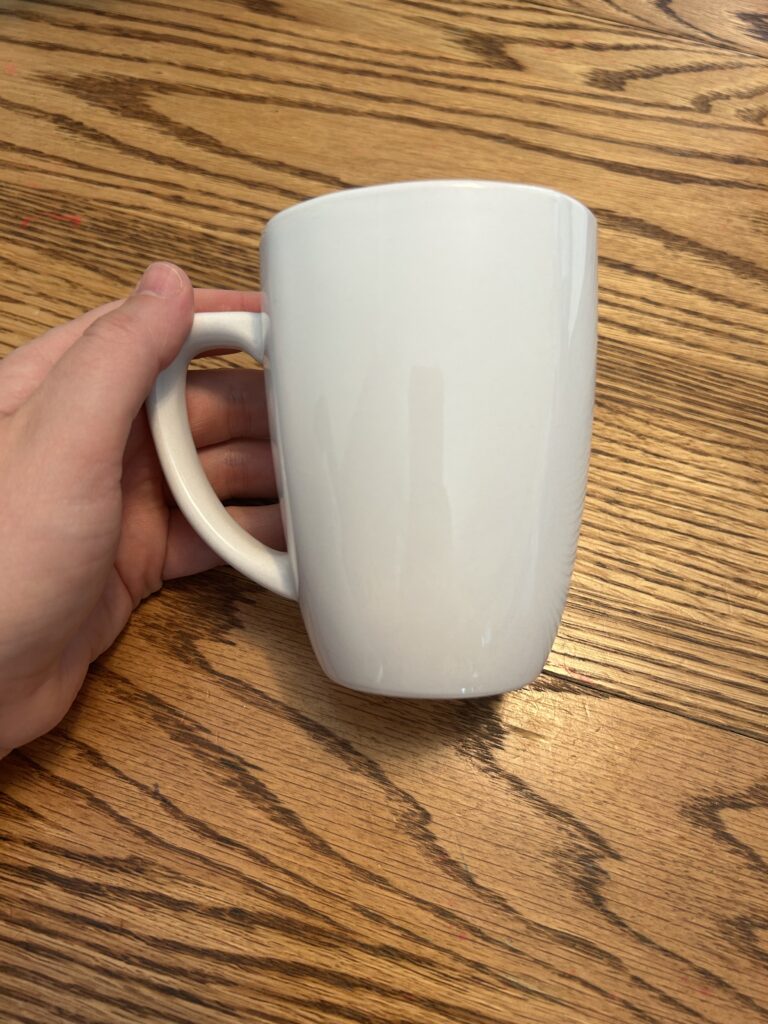
– Plain white ceramic mugs (available at most craft, big box, or general stores. We got ours at a Dollar Store.)
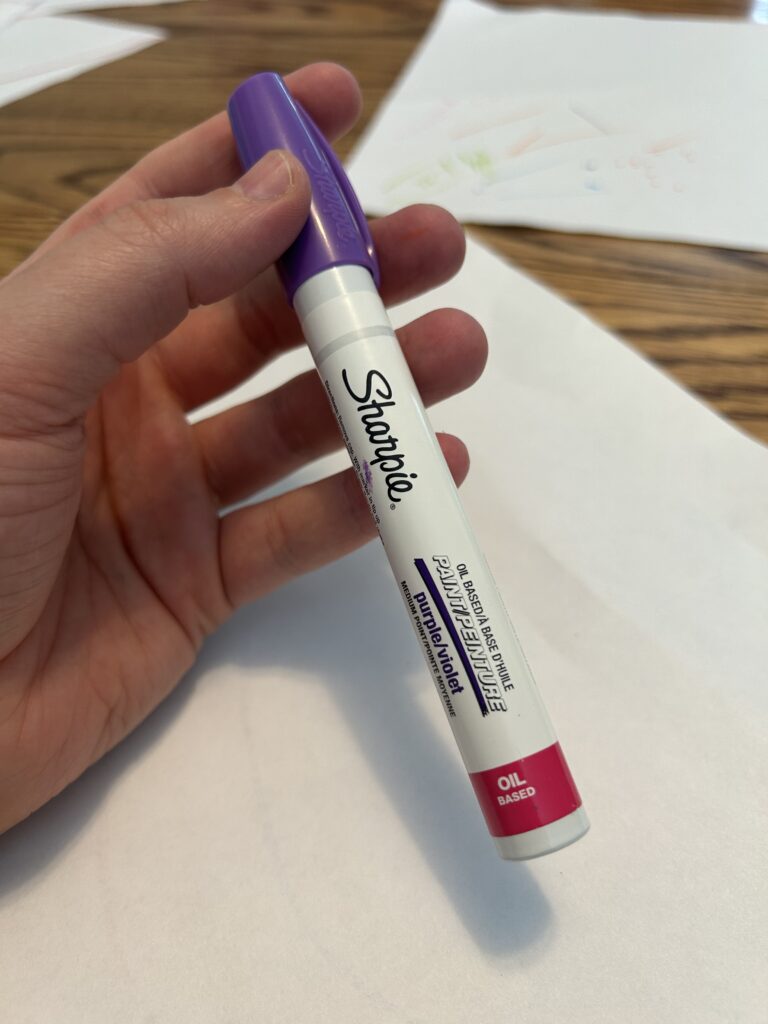
– Oil-based Sharpie markers in various colors
– Rubbing alcohol and cotton balls (for cleaning the mugs)
– Oven
Please Note: It is important to use the oil-based sharpie markers here! You can use normal permanent markers here, but the designs will not last near as long. We love this pack of sharpies for this project!
Instructions:
Preparation
Begin by cleaning the ceramic mugs with rubbing alcohol and a cotton ball. This will remove any oils or residues on the surface, ensuring that the marker adheres well.
Designing the Mug
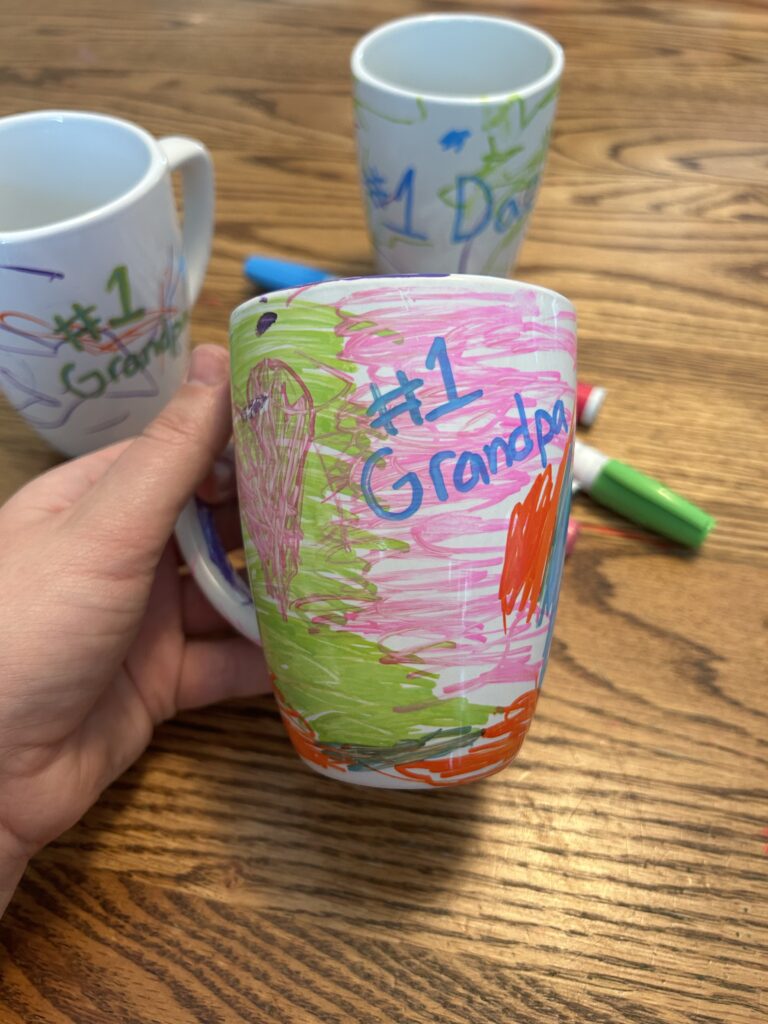
Gather your kids and brainstorm some design ideas. You can write a special message, draw pictures, or even create patterns. Encourage your kids to be as creative as they want! Let the kids take charge—they can write “Best Dad Ever,” “World’s Greatest Grandpa,” or draw their favorite memory with their dad or grandpa. The possibilities are endless!

Let It Dry
Once you’ve finished decorating, let the mug dry for 24 hours. This step ensures that the marker ink sets well before baking.
Baking the Mug
Place the mugs on a baking sheet and put them in a cold oven. Set the oven to 300 and let them bake for about 1 hour. After baking, turn off the oven but leave the mugs inside to cool down slowly. This gradual cooling process helps prevent cracking.
Caring for the Mug
Once completely cool, your mugs are ready to use! For best results, hand wash the mugs instead of putting them in the dishwasher. This will help preserve the design for as long as possible.
Tips for Success:
Prep the Markers Well: Follow the directions on the sharpie package for how to use them. Before starting on the mugs, test the oil-based Sharpie markers on a piece of paper or another ceramic surface to ensure they are working properly.
Mistakes are okay: If you make a mistake while decorating, don’t worry! Use a bit of rubbing alcohol on a cotton ball to erase the error and start over.
Supervise young children: When using Sharpie markers and handling the oven, make sure to supervise young children closely to ensure their safety.
Complete the Gift!
Add a personal touch! Write the date or a special message on the bottom of the mug to commemorate the occasion.
Fill the Mug Up! Fill the mug with Dad’s favorite treats, coffee beans, or tea bags, and wrap it up.
Happy Father’s Day!
Creating a personalized ceramic mug is more than just a craft; it’s a way to make lasting memories with your children. Each time Dad or Grandpa enjoys a cup of coffee or tea, they’ll be reminded of the love and effort that went into making this special gift. Plus, it’s a wonderful opportunity to spend quality time with your kids, fostering their creativity and celebrating the unique bond they share with their father figures.
This Father’s Day, give a gift that’s filled with love and thoughtfulness. Happy crafting!


